Showing posts with label cute. Show all posts

Monday, December 15, 2008

FINALLYOMIGODFINALLY

Well, kids, I finally did it. I finally posted my VERY FIRST pattern on Etsy. Wooooooo...That means that TLOPTIWMODWIGATI(IS) -- The List Of Patterns That I Will Make One Day When I Get Around To It (I Swear) -- is one item shorter!

Anyway, have a look at it: PATTERN Amigurumi Kitten Finger Puppet
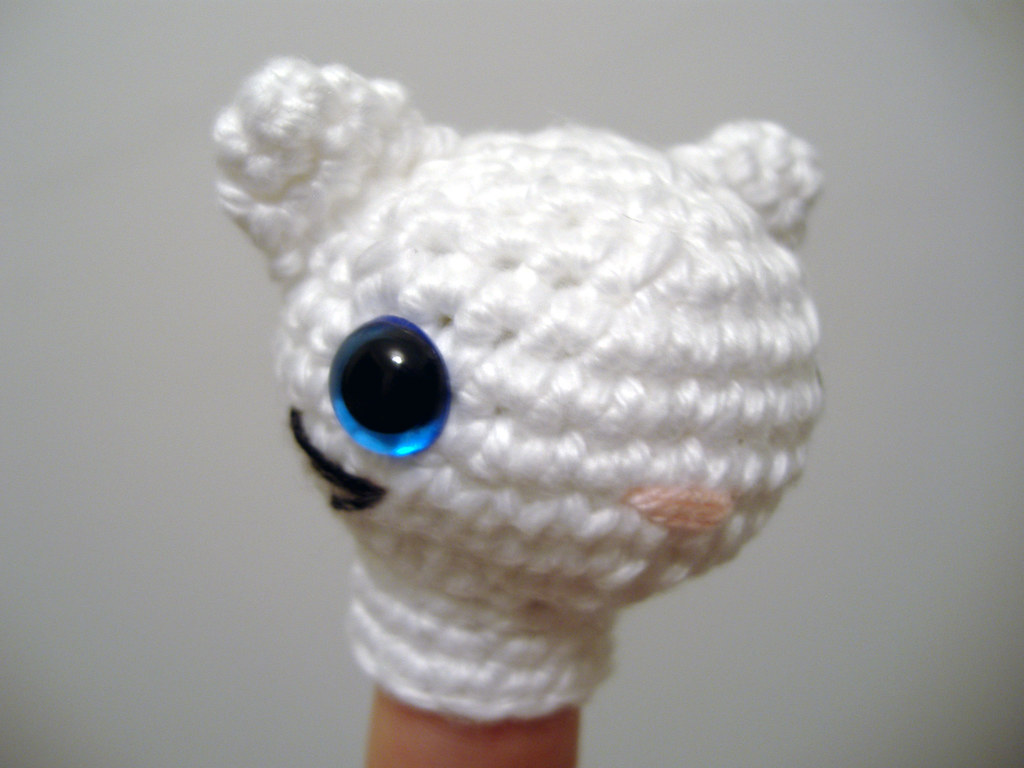

It's a cute little kitten pattern, quite simple and quick, but fun. I hope you like :)

noisypitta.etsy.com

Thursday, August 28, 2008

He's going to Aus-tra-li-a!!!

Ah, my latest project is kind of a sad one...I am losing a good friend because he's emigrating to Oz in a couple weeks, so I wanted to give him something special as a leaving gift. And yes, I considered THAT, but it's hardly appropriate...Moving on.

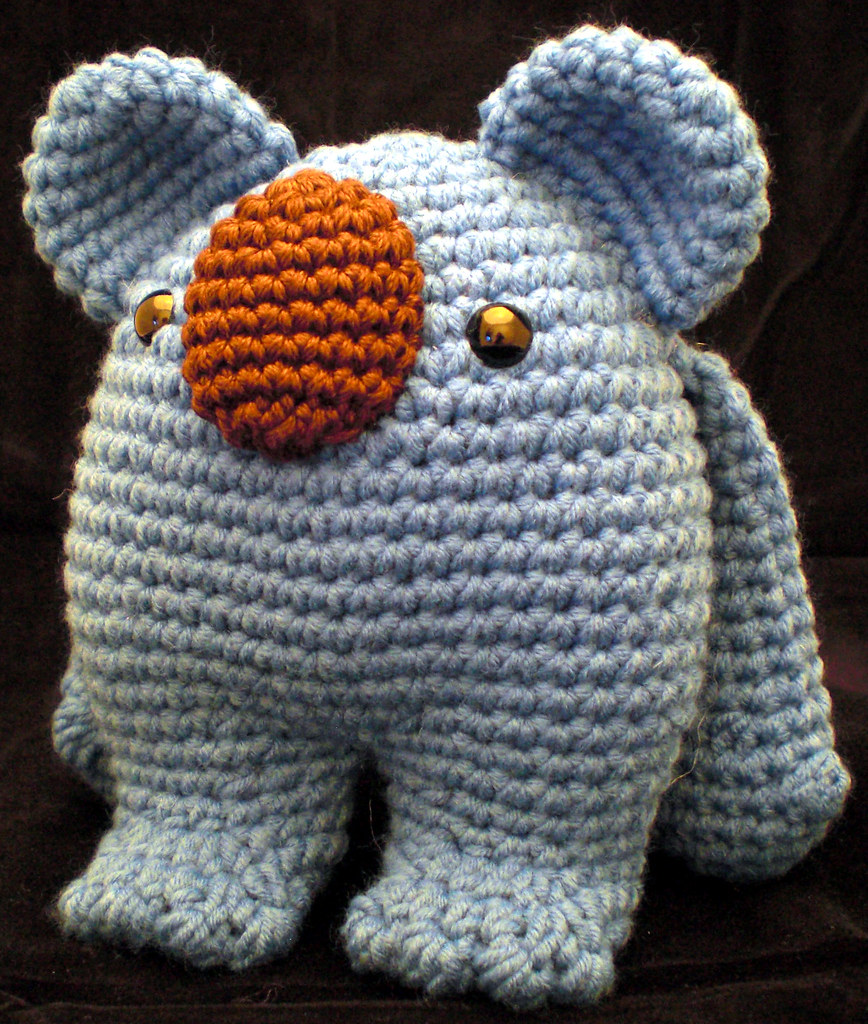
Anyway, I was hit by a wave of Aussie inspiration (and quite a lot of Home and Away), so I came up with a little koala! I think he's quite precious, and actually quite simple to make, so I'm adding him to The List Of Patterns That I Will Make One Day When I Get Around To It (I Swear).

Here he is!

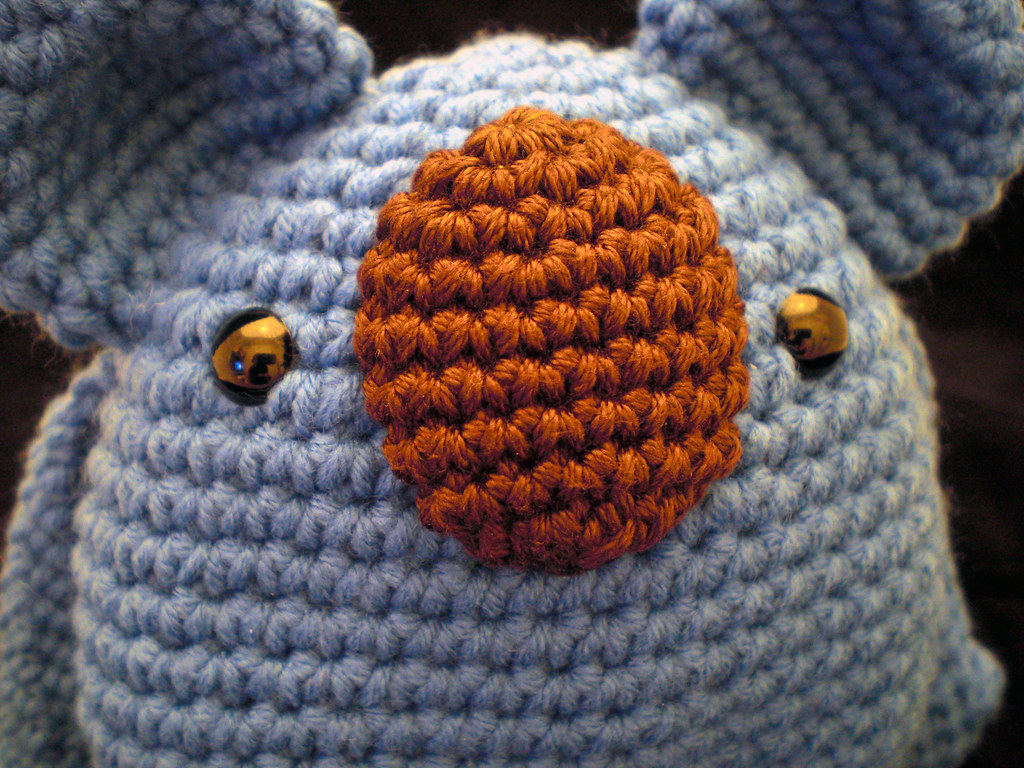
Oh, and I just have to show this pic as well...Look at his little nose!!!


I hope you like :) Oh, and for Brian: good luck with everything and don't worry..."it'll be fine."

noisypitta.etsy.com

Saturday, August 2, 2008

New bunny, and frilly tips

I finally finished the little "thing" I started when I went crocheting with shinykatie. I took with me some lovely lilac-coloured organic wool and had intended to make a little bunny, but then I got sidetracked by THE DRESS (which I have now abandoned, for reasons I will explain in a bit)...Anyway, I finally went back to it, and have come out with this:
I'm quite pleased with it, actually, and the frilly bits took a bit of tenacity, let me tell you! It's fairly straightforward, but very easy to pick up and lose stitches quite easily.

To make the frilly part of the 'gurumi, you alternate working in the front and back loops of your stitches: in the front loops, do a sc, 5 ch, then sc in next front loop, all the way around. Then go back to the back loops, and do a sc in each loop around. If you do any shaping (e.g. increases/decreases), do them in the sc stitches in the back loops.

For this particular project, the frills started out with 1 ch between every sc in the front loop, then on the next round, it was 3 ch between each sc, then 5 ch between. Doing this gives it kind of a graduated look.

Anyway, yes, the only reason I was able to finish this dude was because I have finally abandoned my dress, after I assembled the bodice and I had one HUGE armhole and one tiny one. Then I tried to fix it with the sleeves, but I used the wrong hook, and basically I haven't got the concentration to carry it on for now! I am holding out hope that I will eventually want to go back to it, but I was just missing my 'gurumis too much!
noisypitta.etsy.com

Wednesday, April 9, 2008

Cute Cherries

I discovered yesterday that inspiration can come from anywhere, at any time.

Picture the setting: you're sitting on your bum after a hard day's work, waiting for the chicken to boil down into stock, and you're watching a bit of "The Bionic Woman" from a couple weeks ago. Your hands start to itch, then twitch, and then you realise: you are a crocheter, you MUST crochet. Well, it's about 10:30 at night, and you know that if you stay up past 11, you won't get enough sleep, plus there's every chance that your gorgeous two-year-old son will want you to get up and play with him at 6 am. So what do you do? Start crocheting, knowing that it will keep you up late, or do you ignore the urges and try to take your mind off it with a Coke float and more "Bionic Woman"?

Well, I can tell you what I did...

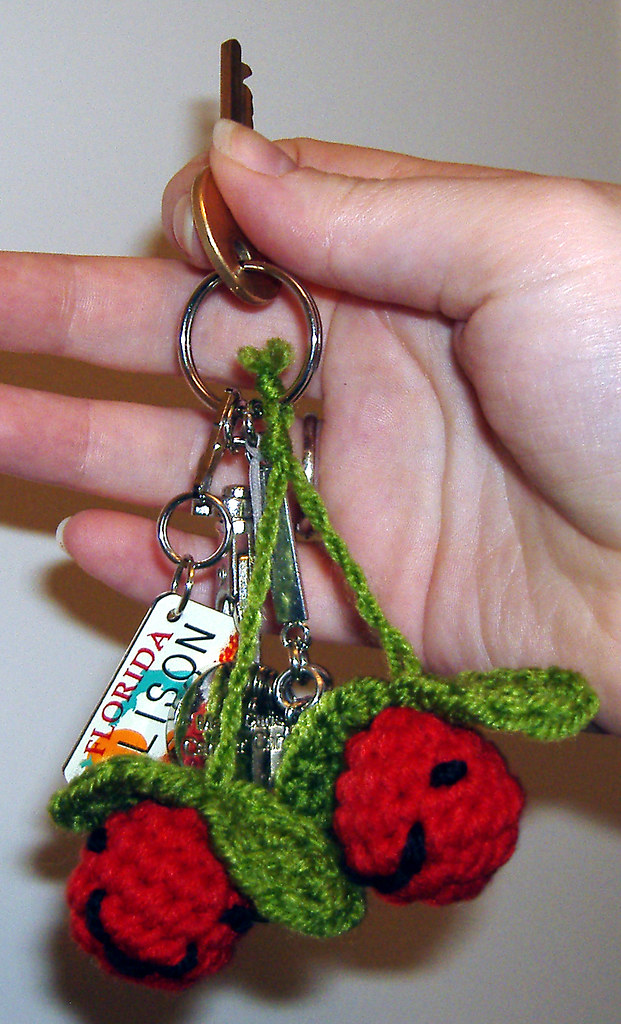
Both! I poured myself a lovely Coke float, grabbed the new skein of red Pure Gold DK that I've had lying around, and I decided to make some little cherries with smiley faces because they're just so DARNED cute. And here's how they turned out:
And they only took me 1/2 hour. Pretty simple pattern, too:

Materials/Supplies
A small amount of red yarn
A small amount of green yarn
A small amount of black yarn
Crochet hook, the smallest size you can use that won't split your yarn when you work with it
Tapestry needle

Abbreviations used
sc: single crochet
st: stitch
inc: increase
invdec: invisible decrease

If there is anything you don't understand in this pattern, please comment below and I'll respond to you personally.

Gauge
Gauge is not used in this pattern; it will vary depending on the yarn and hook you use.

Cherries
The cherries are worked in spiral rounds. You should use a stitch marker to mark the beginning of each round, so you don't lose your place.

With red yarn, make a ring, work 6 sc into ring. (6 st)

Rnd 1: 2 sc in each st around. (12)
Rnds 2-3: inc 3, evenly spaced. (18 st at the end of rnd 3)
Rnd 4: work even. (18)
Rnd 5: invdec 6, evenly spaced. (12)

Now embroider a face onto the cherry using black yarn, using the photo as a guide. I used French knots for the eyes and back-stitching for the mouth.

Leaves
Make two leaves per cherry.

With green yarn, ch 5. Now work into the back loops of the ch: sc into 2nd ch from hook, then hdc in the next st, dc in the next st. 5 sc in the last stitch and turn to work in the front "v" loops of the foundation chain: dc in the next st, hdc in the next st, sc in the final st. Sl st into the last ch of the foundation chain (the one immediately before you made your first sc). Finish off and weave in ends.

Stems
For each stem, cut a length of green yarn about 4 times the length you want your stems to end up. To be safe, I used lengths about 2 feet long and cut them down as necessary once I was finished assembling!

To make the stem, thread the yarn onto a tapestry needle and through the "fat" end of one leaf, then through the top of the cherry (outside to inside). Then thread the yarn back out the top of the cherry and through the fat end of the other leaf. Tie a square knot in the yarn; this will make the leaves be securely attached. Finally, use the two halves of your length of yarn to make a twisted cord, and tie off.

Final assembly
To finish your cherries, stuff each one firmly, and close the holes by finishing off your red yarn, then threading the end onto a tapestry needle. Thread the yarn through the front loop only of each stitch around the hole, and pull tight; the hole will close naturally. Weave in the ends.

Oh, yeah, and don't forget to grin stupidly when examining your final product :)

noisypitta.etsy.com

Monday, April 7, 2008

Kid-safe kitten

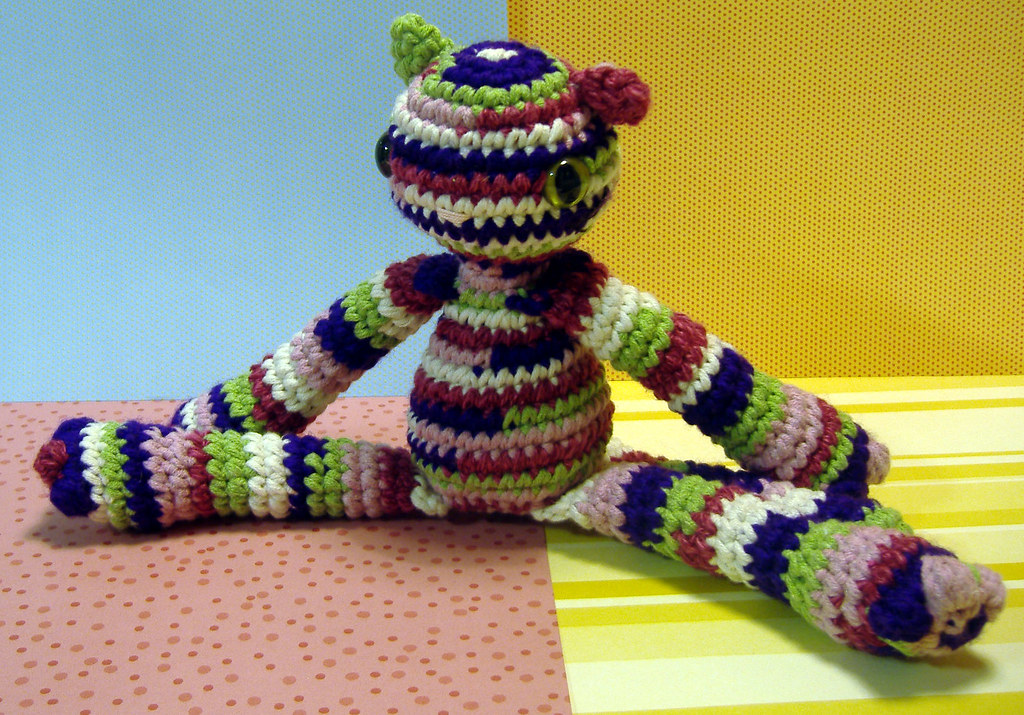
Okay, I'm being the proud 'gurumi-ist again. I have come up with the ultimate way of making toys kid-safe (kid-proof?) by crocheting arms and legs into the fabric as you go, and it's much more secure than simply whipstitching. Here's the latest kitten I've done:
First off, I must explain the crazy nature of her colouring: it's a kind of "recycled yarn" look, like that Muji elephant I have. I did it because I had half a ball of five different yarns lying around; not enough to do a whole ANYTHING, but enough between them to accomplish something nice. It was a painstaking process to use this method, because it involved cutting each of the five balls into lengths of about 2ft, and then "randomly" tying them together as I wound a new ball out of them. I think the whole thing was worth it, though; I like the colour effect, and it got rid of A LOT of scrap yarn.
Anyway, the point of showing you the picture was so that you could see what the kitten looks like with "integrated" arms and legs. I'm sorry I haven't got a great closeup of it, but the joins look exactly the same as whipstitching, only because they're crocheted into the fabric, they're much stronger.

The idea is, you make the arms as normal; these ones are tubes with a circumference of 12 st. Then on the last round, only sc for half the stitches (in this case, 6 st), then ch 1 and pinch the fabric together. For the last 6 st, stitch through two layers of fabric. This gives you a nice, clean edge to your arm. (Please note, this is the same technique as Elisabeth Doherty uses in her book, "Amigurumi! Super Happy Crochet Cute", which can be found at Amazon.com or Amazon.co.uk.)

Once you've finished off your arms and legs, continue onto the head and body, working from the top down, and when you get to the place where you want your arms to be, you stitch through BOTH the last row of stitches of your arm, and the stitches on the body. Et voila! When I finally finish the kitten pattern (I KNOW, I've been promising this for ages), I will do two versions, one for the joined arms and one for the kid-safe arms.

noisypitta.etsy.com

Saturday, March 22, 2008

What's cuter?

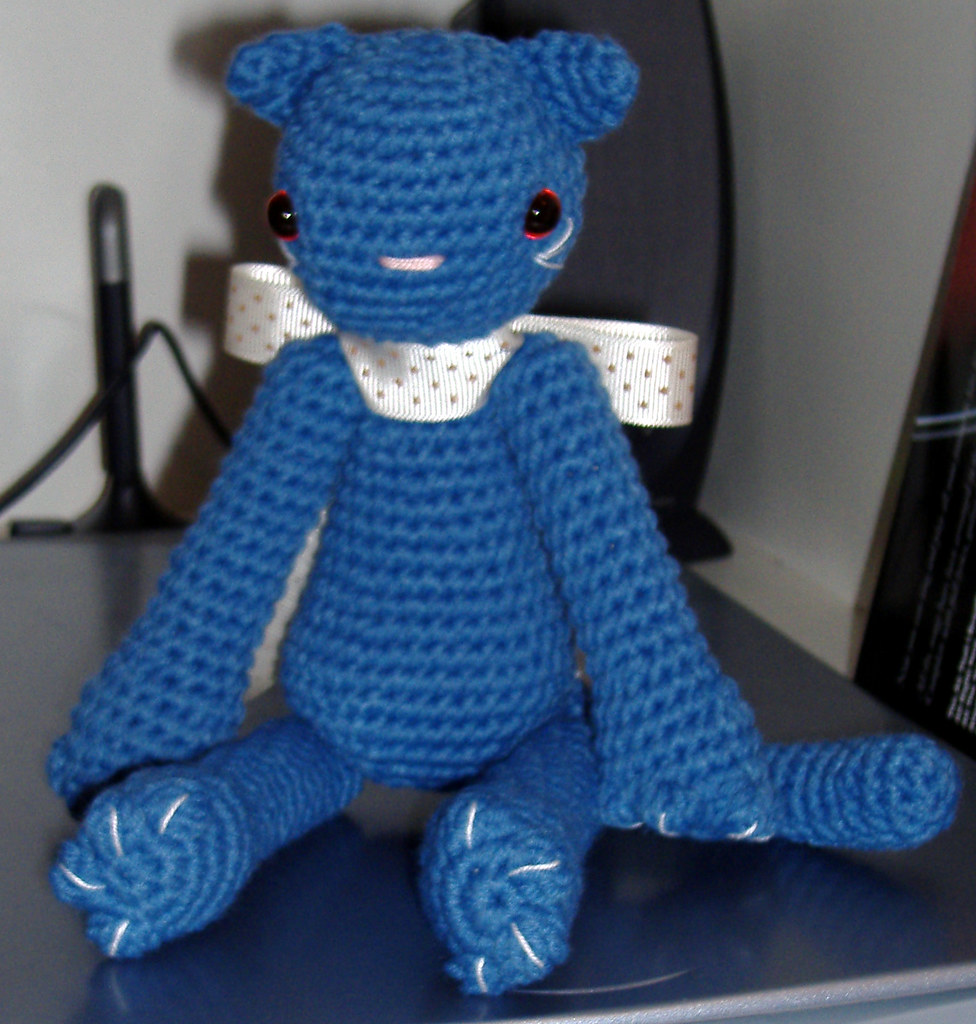
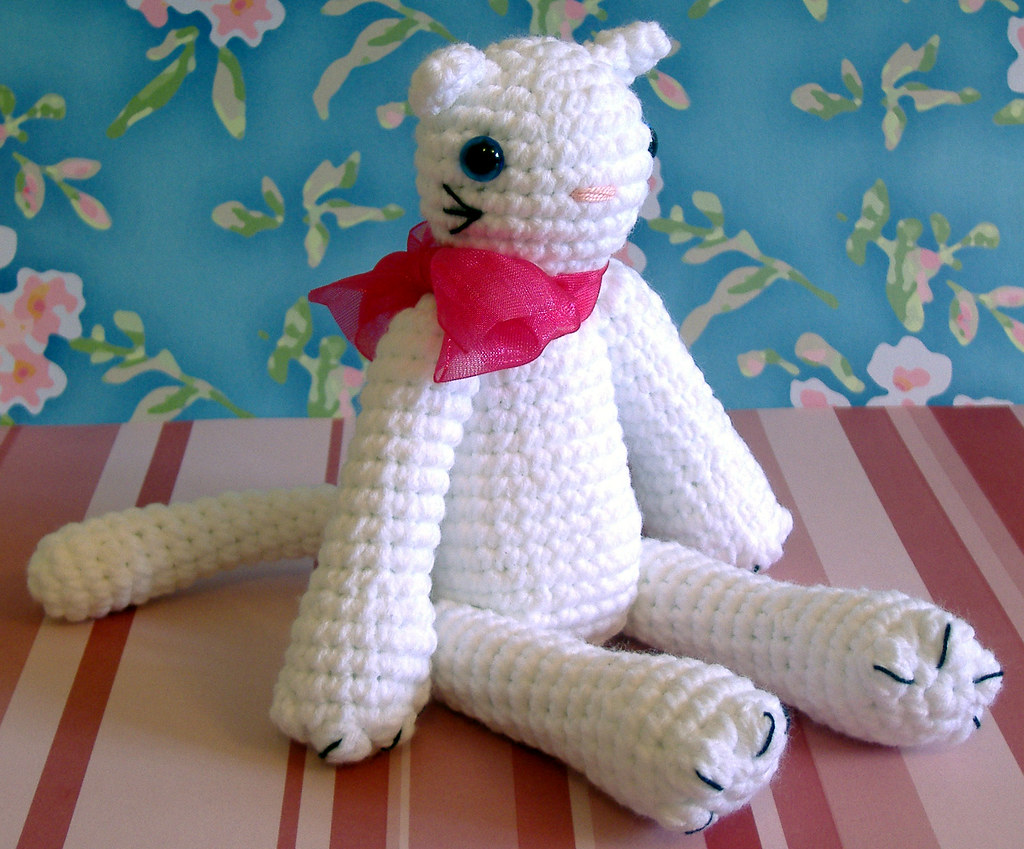
Okay, folks, so the question is, what's cuter? Generally speaking, the rules of cuteness state (okay, slightly paraphrased) that the bigger the head, proportionally speaking, the cuter something is. So I modified Poppet (the white kitten) to have a bigger head (the blue kitten), but actually, I'm not sure. I kind of liked Poppet as she was.

Any opinions?

noisypitta.etsy.com