
Showing posts with label children. Show all posts

Sunday, June 14, 2009

HOW TO: Make a child's t-shirt into a peg bag

There are a very few things more satisfying than hanging all your laundry out on the line on a warm summer's day...Your clothes smell fresh, and you save the environment (just a bit!) by not running five loads through the tumble dryer!

Uh, however, if you're like me, you need about a million clothes pegs, hence the "peg bag". You're welcome to buy one from Cath Kidston for a tenner, if you so desire, but an easier and more fun thing to do is to convert an old child's tee (one of your children's own, or a neighbour's!)...It costs next to nothing and can be sorted in about an hour.
What you'll need:
  1. A child's t-shirt. Any size from about 2 to 4 will be right.
  2. A small hanger. This may have come with the t-shirt, or something else...I find that the ones that come with adult swimsuit tops are quite good!
  3. Some stuff you have lying around the house.
I have to be intentionally vague on the third one, because there are a number of different ways to accomplish the same thing!

There are two parts to creating a peg bag from a t-shirt:
  1. You have to close up the bottom of the tee.
  2. You have to create a hole to put the pegs in.
That's really it...And how you get there is up to you.

The first time I made one, all I did was to run the bottom of the shirt through the sewing machine and make a slice across the chest.

The peg bag you see in the picture is crocheted shut with a very small-gauge hook and some crochet thread, and detailed with a picot stitch! I did the same on the hole for the pegs, partially to match the bottom, and partially to prevent the opening from fraying.
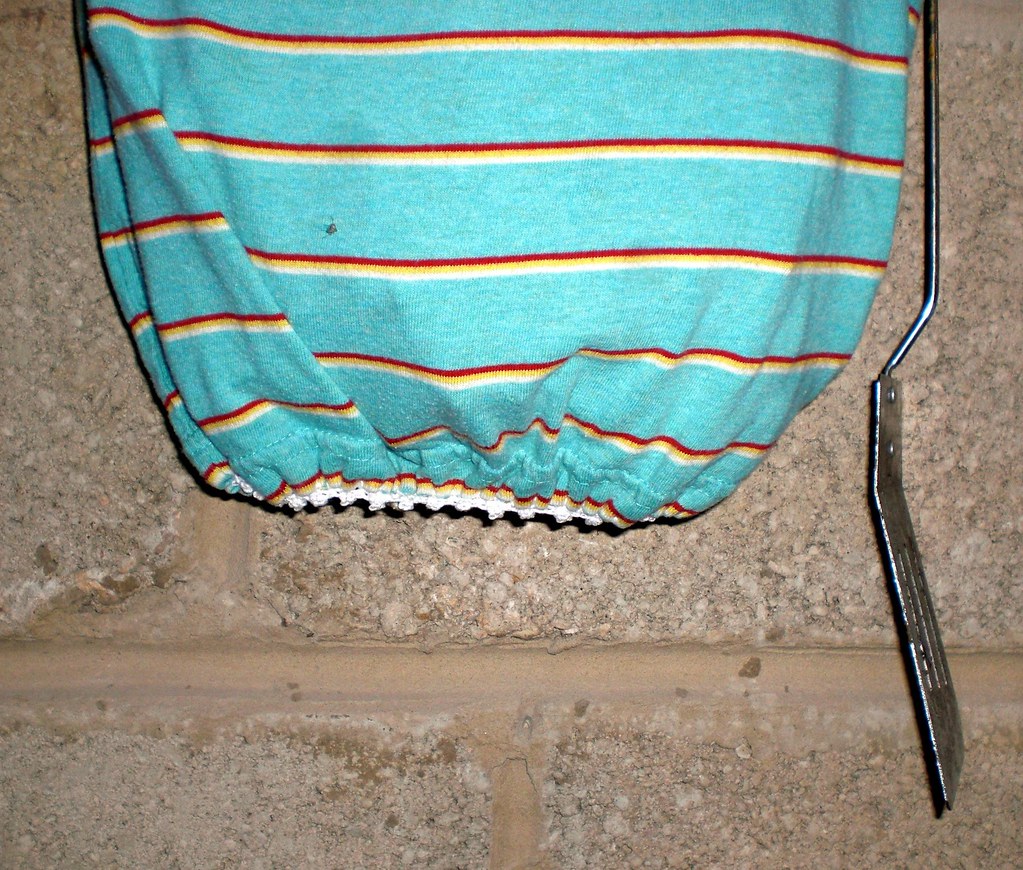
The final part is to hang the t-shirt up on the hanger, et voila! You've got a nifty, cheap peg bag, and you also find a use for those old t-shirts you love, can't throw away, but just can't justify keeping around :)

noisypitta.etsy.com

Monday, April 7, 2008

Kid-safe kitten

Okay, I'm being the proud 'gurumi-ist again. I have come up with the ultimate way of making toys kid-safe (kid-proof?) by crocheting arms and legs into the fabric as you go, and it's much more secure than simply whipstitching. Here's the latest kitten I've done:
First off, I must explain the crazy nature of her colouring: it's a kind of "recycled yarn" look, like that Muji elephant I have. I did it because I had half a ball of five different yarns lying around; not enough to do a whole ANYTHING, but enough between them to accomplish something nice. It was a painstaking process to use this method, because it involved cutting each of the five balls into lengths of about 2ft, and then "randomly" tying them together as I wound a new ball out of them. I think the whole thing was worth it, though; I like the colour effect, and it got rid of A LOT of scrap yarn.

Anyway, the point of showing you the picture was so that you could see what the kitten looks like with "integrated" arms and legs. I'm sorry I haven't got a great closeup of it, but the joins look exactly the same as whipstitching, only because they're crocheted into the fabric, they're much stronger.

The idea is, you make the arms as normal; these ones are tubes with a circumference of 12 st. Then on the last round, only sc for half the stitches (in this case, 6 st), then ch 1 and pinch the fabric together. For the last 6 st, stitch through two layers of fabric. This gives you a nice, clean edge to your arm. (Please note, this is the same technique as Elisabeth Doherty uses in her book, "Amigurumi! Super Happy Crochet Cute", which can be found at Amazon.com or Amazon.co.uk.)

Once you've finished off your arms and legs, continue onto the head and body, working from the top down, and when you get to the place where you want your arms to be, you stitch through BOTH the last row of stitches of your arm, and the stitches on the body. Et voila! When I finally finish the kitten pattern (I KNOW, I've been promising this for ages), I will do two versions, one for the joined arms and one for the kid-safe arms.

noisypitta.etsy.com